





For small ecommerce importers, every dollar counts. Customs brokerage fees typically range from $75 to $200 per entry, and if you ship multiple containers or air freight consignments each month, those fees add up fast. The good news is that clearing customs yourself — known as “self-filing” — is not as complicated as most importers believe. While hiring a customs broker is convenient, the DIY route can save you thousands of dollars annually if you understand the process and are willing to invest a little time upfront.
Self-filing a customs entry involves preparing documentation, classifying goods under the Harmonized Tariff Schedule (HTS), calculating duties, and submitting the entry electronically through the Automated Broker Interface (ABI). The U.S. Customs and Border Protection (CBP) allows qualified importers to self-file, and many small ecommerce businesses are discovering that the cost savings are well worth the learning curve. In this guide, we walk through every step of the DIY customs clearance process so you can decide whether it is right for your business.
Before jumping into the paperwork, it is important to understand the regulatory environment. Customs clearance is governed by complex rules that vary by country, product type, and trade agreement. However, the core principles remain the same: you need to declare what you are importing, pay the correct duties and taxes, and provide proof that your goods comply with local regulations. The following sections break down exactly how to accomplish this on your own, from document preparation to final submission.
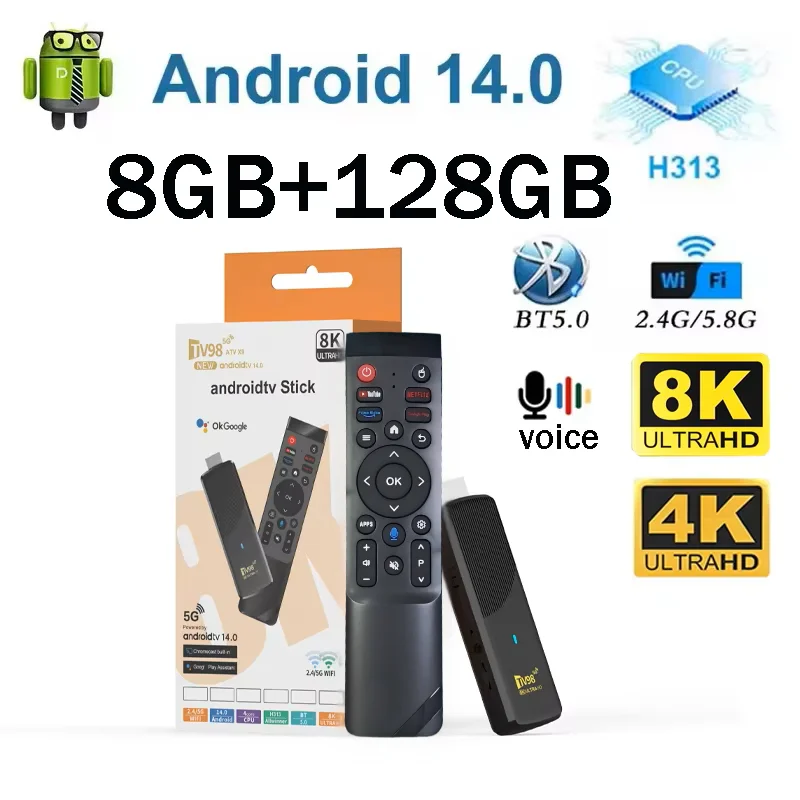
TV98 ATV X9 Smart TV Stick Android14 Allwinner H313 OTA 8GB 128GB Support 8K 4K Media Player 4G 5G Wifi6 HDR10 Voice Remote iptv
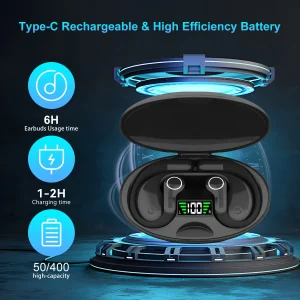
Ai Translator Earbud Device Real Time 2-Way Translations Supporting 150+ Languages For Travelling Learning Shopping Business

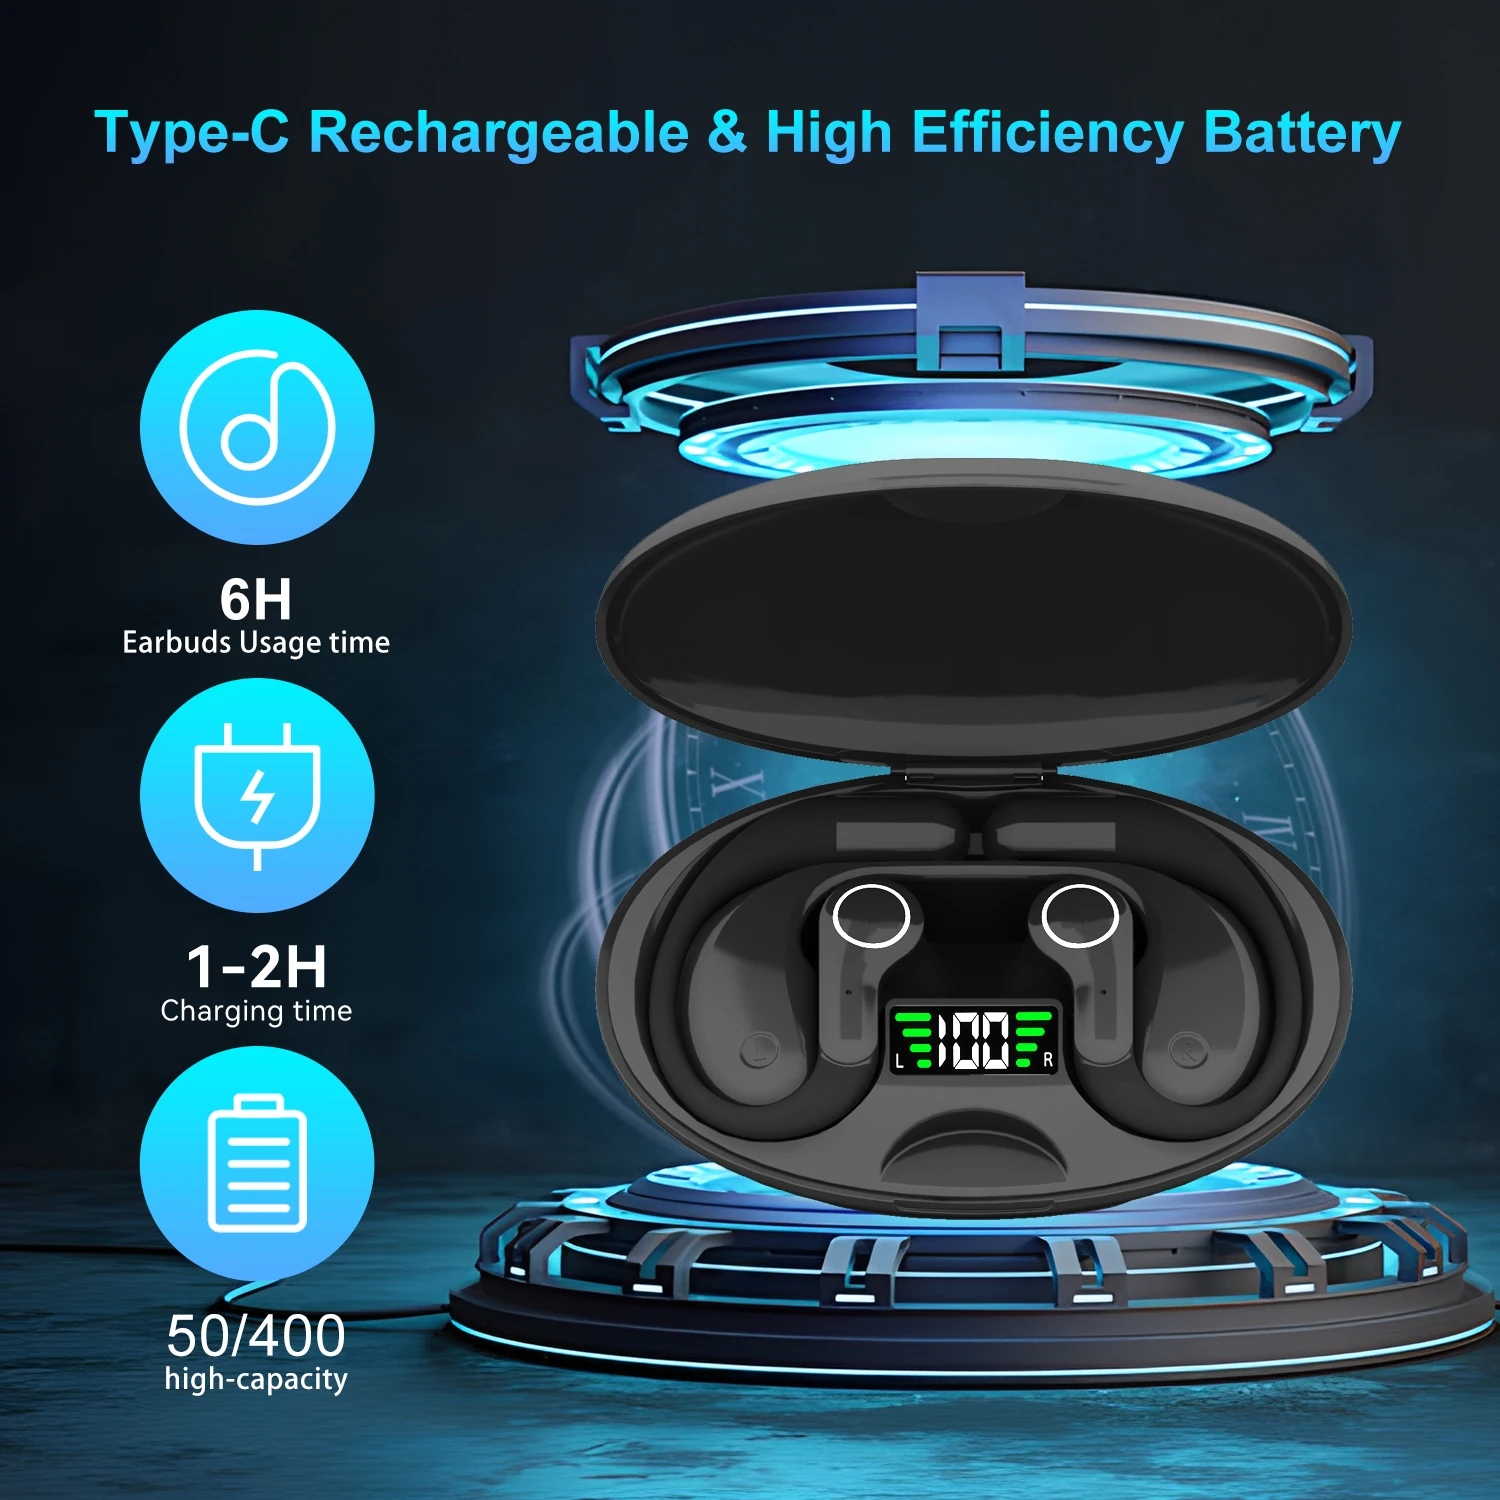
Smart AI Translation Bluetooth Earphones With LCD Display Noise Reduce New Wireless Digital Long Battery Life Display Headphone
Understanding the Customs Clearance Process
Customs clearance is the procedure by which goods entering a country are inspected, classified, and approved for release into the domestic market. The process begins the moment your shipment arrives at a port of entry — whether by ocean, air, or land. For self-filers, the first step is determining the correct bond type. A customs bond is essentially an insurance policy that guarantees CBP will be paid if duties or penalties are owed. Most small importers opt for a single-entry bond for infrequent shipments or a continuous bond for regular imports. Continuous bonds typically cost around $500 to $1,000 per year, while single-entry bonds run about 1–3% of the shipment’s value.
Once the bond is in place, the actual clearance process involves several sequential steps. First, you submit the ISF (Importer Security Filing) at least 24 hours before cargo is loaded on a vessel. Second, upon arrival, you file the entry documentation with CBP. Third, CBP reviews the entry and either releases the goods or issues an inspection hold. Finally, if released, your cargo is cleared for delivery. The entire timeline can take anywhere from a few hours to several days, depending on the volume of shipments at the port and the complexity of your goods.
One of the biggest advantages of self-filing is the ability to monitor the status of your shipment directly through the ACE (Automated Commercial Environment) portal. This government system allows importers to track entries, view holds, and make corrections without relying on a middleman. While the interface is not as polished as commercial software, it is functional and free. Many small importers find that after their first two or three self-filed entries, the process becomes routine and takes less than 30 minutes per shipment.
Documents You Need to Prepare
A successful DIY customs clearance starts with proper documentation. The core documents you will need include the commercial invoice, packing list, bill of lading or air waybill, and any applicable certificates of origin. The commercial invoice must include a detailed description of each product, its quantity, unit value, total value, country of origin, and the terms of sale (Incoterms). CBP is particularly strict about accurate descriptions — vague terms like “various merchandise” or “parts” will trigger a hold or rejection.
The packing list should itemize every carton, pallet, or container in the shipment, including dimensions and weight. This document helps CBP verify that the physical goods match the declared information. The bill of lading (ocean) or air waybill (air) serves as the contract of carriage and proof that you own the goods. If you are importing goods that qualify for preferential duty treatment under trade agreements such as USMCA or the U.S.-Korea FTA, you will also need a certificate of origin. These documents can sometimes be prepared by the supplier, but as the importer of record, you are ultimately responsible for their accuracy.
For regulated products — such as electronics, food items, cosmetics, or textiles — additional permits or certifications may be required. For example, electronics may need FCC compliance documentation, and food products require FDA prior notice. The key is to research your product category’s requirements before the shipment departs. If you discover a missing permit after the cargo arrives, storage fees at the port can escalate quickly, erasing any savings from DIY clearance. A simple rule: gather all documents at least one week before the cargo arrives and double-check every field against CBP guidelines.
How to Classify Your Products Using HTS Codes
Product classification is the most technical part of DIY customs clearance. Every imported product must be assigned a 10-digit HTS (Harmonized Tariff Schedule) code. The first six digits are standardized globally, while the last four are country-specific. Getting the code right is critical because it determines your duty rate, eligibility for trade preferences, and whether additional regulatory requirements apply. A misclassification can lead to overpaying duties — or worse, penalties for underpayment.
The best place to start is the CBP’s online HTS search tool or the USITC HTS database. Begin by identifying the broad category of your product (e.g., textiles, machinery, plastics) and then narrow down using the section and chapter notes. These notes contain legal definitions and exclusions that are essential for accurate classification. For example, a “cotton T-shirt” falls under heading 6109, but a “cotton polo shirt” with a collar may fall under a different subheading. The difference can change your duty rate by several percentage points.
If you are unsure about a classification, CBP offers binding rulings through the National Commodity Specialist Division. You can submit a request for a ruling on a specific product, and CBP will issue a legally binding determination. While this process takes 30 to 90 days, it eliminates classification risk for repeat shipments. Many small importers also use third-party classification software like Zonos or TradeGem to cross-check their codes. Start with simple, low-risk products and gradually expand to more complex categories as your confidence grows.
Calculating Duties and Taxes on Your Own
Once you have the correct HTS code, calculating duties is straightforward. The duty rate is stated as a percentage of the customs value of the goods. Customs value is typically the transaction value — what you actually paid for the goods — plus freight and insurance costs to the port of entry. For example, if your shipment is valued at $10,000, freight is $1,000, and insurance is $200, the customs value is $11,200. If the duty rate is 5%, the duty owed is $560. In addition to customs duties, you may owe Merchandise Processing Fees (MPF) and Harbor Maintenance Fees (HMF) on ocean shipments. MPF is 0.3464% of the value for formal entries, capped at $538.40 per entry. HMF is 0.125% of the value for ocean shipments.
It is important to note that duty rates vary widely. Some products, such as raw materials or goods from FTA partner countries, may enter duty-free. Others, like apparel or footwear, can have rates exceeding 20%. The CBP website provides a comprehensive tariff database where you can look up current rates. You should also check for anti-dumping or countervailing duties that may apply to specific products from certain countries. China-origin goods, for example, are subject to additional Section 301 tariffs that add 7.5% to 25% on thousands of product categories.
To make the calculation easier, use the CBP ACE system’s built-in duty calculator or a third-party tool like Descartes CustomsInfo. These tools automatically apply the correct rates based on your declared HTS code and shipment value. Keep meticulous records of every calculation because CBP may audit your entries years later. A common mistake among new self-filers is forgetting to include freight costs in the customs value. This under-declaration is one of the most frequent violations CBP flags, and it can result in penalties of up to 20% of the underpaid duty.
Filing Your Customs Entry: The ISF and Entry Summary
The actual filing involves two main submissions: the Importer Security Filing (ISF) and the Entry Summary (CBP Form 7501). The ISF, also known as “10+2,” must be filed at least 24 hours before cargo is loaded onto a vessel destined for the United States. This filing includes 10 data elements such as the seller name, buyer name, manufacturer name, country of origin, and HTS code. For air freight, the equivalent is the Air Cargo Advance Screening (ACAS) filing. Missing the ISF deadline can result in a $5,000 penalty and cargo delays, so set calendar reminders for every shipment.
The Entry Summary is the main customs declaration document. It includes the consignee and importer of record information, bond details, HTS classification, duty calculation, and applicable fees. The form must be filed within 15 days of the cargo’s arrival at a U.S. port. If you are using the ACE portal, most of the data fields are pre-populated after you enter the HTS code and shipment value. For self-filers, the typical workflow involves logging into ACE, selecting “Create Entry,” filling out the electronic 7501, and submitting it along with any required supporting documents.
After submission, CBP processes the entry through its automated targeting system. Most entries are released without human intervention within minutes to hours. However, some are flagged for inspection — either a document review (exam) or physical inspection. If your shipment is selected for inspection, you will receive a notice through ACE and may need to provide additional documentation or arrange for your cargo to be physically examined. Self-filers can manage this process directly, but it often requires coordination with the carrier or warehouse to present the goods for inspection.
Common DIY Clearance Mistakes and How to Avoid Them
Even experienced importers make mistakes when clearing customs. The most common errors include incorrect HTS classification, undervaluing goods, failing to file the ISF on time, and missing country-of-origin markings. A single mistake can delay your shipment for days and incur storage fees that range from $50 to $300 per day per container. Worse, repeated violations can lead to penalties, increased scrutiny on future shipments, or even suspension of your importing privileges. The key is to build a quality control system around your filing process.
One effective strategy is to use a detailed checklist for every shipment. Include items like: ISF filed? HTS code verified? Commercial invoice matches packing list? Country of origin clearly stated? Duty calculated correctly? Supporting documents attached? By checking each item before submission, you dramatically reduce the risk of errors. Another smart practice is to have a second person review the entry before filing, even if that person is not a customs expert. A fresh set of eyes often catches typos, incorrect quantities, or missing data that you might overlook.
If you do receive a CBP notice of error or penalty, do not panic. The process includes an opportunity to respond and explain. Many first-time penalties are reduced or waived if you can demonstrate good faith and a reasonable effort to comply. CBP’s “reasonable care” standard requires importers to take steps to ensure their entries are accurate. By using classification software, keeping documentation organized, and staying current with regulatory changes, you demonstrate that you are exercising reasonable care. This can be the difference between a penalty warning and a substantial fine.
When You Should Still Consider Hiring a Broker
DIY customs clearance is not suitable for every situation. If you import highly regulated products such as pharmaceuticals, firearms, hazardous materials, or perishable foods, the compliance requirements are complex enough that a professional broker is worth the fee. Similarly, if you are importing goods valued over $100,000 per shipment, the penalty risk from a filing error may outweigh the brokerage cost. For new importers making their first three to five shipments, the added guidance of a broker can prevent costly mistakes that would harm your business.
Another scenario where a broker adds value is when your goods enter through a major port like Long Beach, Newark, or Savannah, where congestion and exam rates are high. Brokers have established relationships with CBP officers and can navigate holds and exams more efficiently. They also handle the logistics of arranging deliveries, coordinating with customs warehouses, and managing last-mile transportation. For small ecommerce businesses that are scaling quickly, outsourcing clearance can free up time to focus on product development, marketing, and customer service.
If you decide to use a broker, look for one who specializes in ecommerce imports and offers transparent pricing. Many brokers now offer flat-rate fees for standard entries, making it easy to budget. You can also use a hybrid approach: self-file for repeat, low-risk products while routing complex or high-value shipments through a broker. This balanced strategy gives you the best of both worlds — significant cost savings on routine imports with professional support when you need it most.
Final Thoughts on DIY Customs Clearance
Clearing customs without a broker is an achievable goal for any small ecommerce importer willing to invest the time to learn. The initial learning curve is real, but the long-term savings are substantial. By mastering document preparation, HTS classification, duty calculation, and the ACE filing system, you gain full control over your import operations. You also build a deeper understanding of your supply chain, which helps you make better sourcing decisions down the line. Start with a low-value, simple product shipment to practice, and scale up as your confidence grows. Within a few months, DIY clearance can become a standard part of your business operations — saving you thousands of dollars every year.
Related Articles
Reducing Import Costs Without Sacrificing Speed
HTS Classification Basics Every Importer Should Know
How to Navigate the ACE Customs Portal Efficiently
Frequently Asked Questions
Q: What documents are required for customs clearance?
Essential documents: Commercial Invoice, Packing List, Bill of Lading or Airway Bill, Certificate of Origin, and Importer Security Filing (ISF) for US shipments. Additional certificates may be needed for regulated products based on the destination country.
Q: Do I need a customs broker for small shipments?
While not legally required, a customs broker is strongly recommended for first-time importers. Broker fees range from $100-500 per shipment. They handle classification, duty calculations, documentation, and compliance — saving you time and reducing error risk.
Q: How do I handle customs inspections?
Prepare all supporting documents in advance. Common inspection triggers include undervalued shipments, unusual product descriptions, or new importers. Cooperate fully with customs officers. Having a broker manage the inspection process reduces delays significantly.
Q: What are common customs compliance mistakes to avoid?
Top mistakes: incorrect HS code classification, undervaluing shipments to reduce duties, incomplete commercial invoices, missing certificates of origin, and failing to file ISF (US) 24 hours before loading. These errors cost importers thousands in penalties annually.
Q: How do I stay compliant with changing customs regulations?
Subscribe to customs authority email updates (CBP for US, HMRC for UK). Work with a licensed customs broker who monitors regulatory changes. Join trade associations relevant to your product category. Review compliance requirements quarterly at minimum.
Related: The Small Importer’s Customs Clearance Pla… | How to Launch Your Own E-Commerce Brand wi… | How to Find Reliable Suppliers for Your Sm…